Sunday, August 29, 2010

"...it Don't Matter if You're Black or White"

For those of you who are unfamiliar with that title, I highly recommend you visit this link - it's Michael Jackson's "Black or White". My love of MJ goes back as far as I can remember, and these cupcakes were a token of said appreciation.  I had considered making a white chocolate and dark chocolate entry for a while based solely on this song. 
I baked these for a friend's BBQ birthday party who just so happened to be turning 24, and I wanted to bake 12 of each: Dark Chocolate Cupcakes with Peanut Butter Filling and White Chocolate Cupcakes with Raspberry Filling.
                             
The dichotomy of white chocolate and dark chocolate is a beautiful presentation. Yet it should be noted that white chocolate is in fact NOT a true chocolate due to the lack of chocolate liquor. It consists of cocoa butter, sugar, milk solids, and vanilla. Nonetheless, it has an amazing flavor that is highly complimented by tarter flavors, such as raspberry.
Dark chocolate, on the other hand, is the "true chocolate", where sugar and fat are the only additives to cacao, with no milk. Coffee, like my last entry indicates, pairs beautifully with chocolate.

While I appreciated the concept of white and dark chocolate being opposing flavors, I wanted to add another profile to the two cupcake types. As such, I chose to use the "cone method" (see left) and fill the cupcakes. The basic process behind this is dragging a knife in a conical fashion to create a basin, which can then be filled with whatever filling is desired. The cone end is then cut off, leaving a cap with which to cover the filling. For these cupcakes, I chose to use raspberry for the white chocolate, and peanut butter for the dark chocolate. While I simply used plain raspberry preserves for the former, I made a mixture of cream cheese, peanut butter, and milk for the latter. The basic measurements were 2 ounces of cream cheese, 1/2 cup creamy peanut butter, and a splash or two of milk. I mixed these items together until the mixture resembled a caramel whipped cream. The result for each filling was absolutely delicious! 

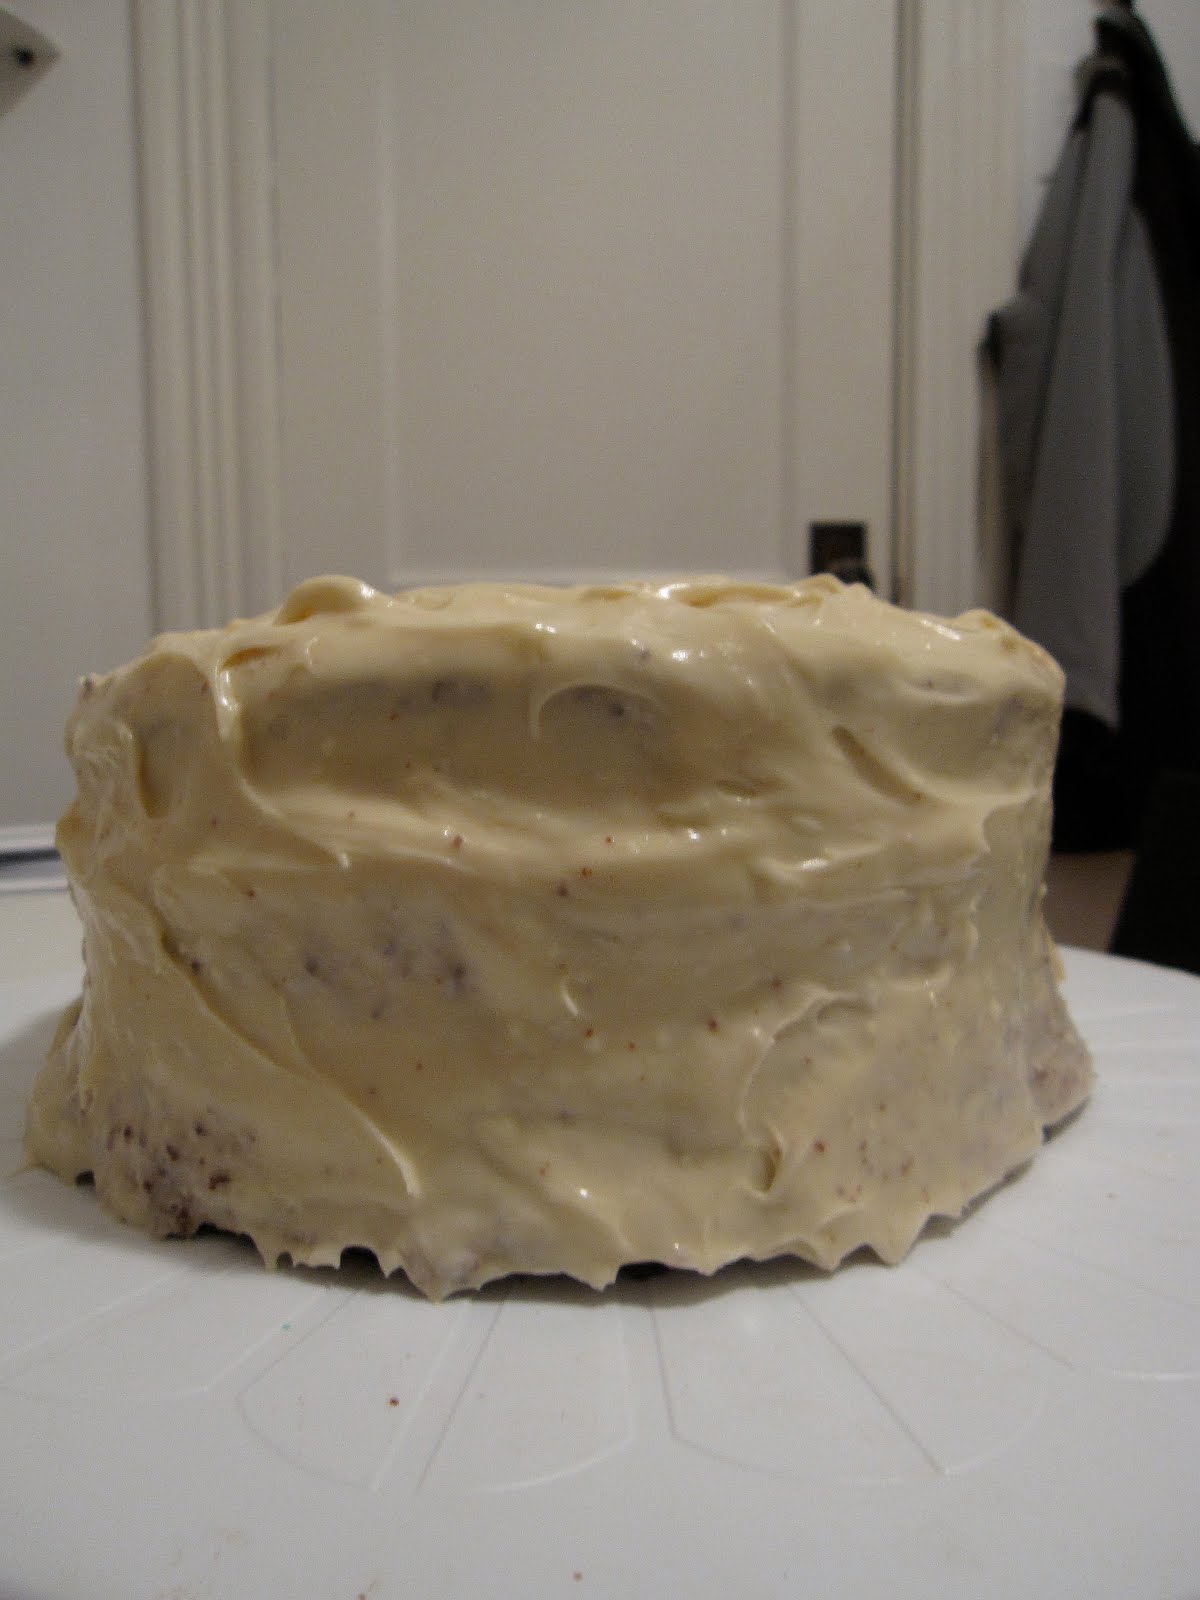
One small side note: the white chocolate cupcakes turned out beautifully shape-wise, whereas the chocolate cupcakes had appearances that resembled mushrooms. Nonetheless, they still tasted wonderful!
White Chocolate Cupcakes with Raspberry Filling and White Chocolate Frosting 
adapted via CAKE ON THE BRAIN and Diana's Desserts
Serves 12


Ingredients:
Cupcakes
  • 1 cup all-purpose flour
  • 3/4 cup sugar
  • 1/8 teaspoon salt
  • 2 oz white chocolate
  • 1/4 cup water
  • 1/4 cup butter
  • 1/2 cup sour cream, at room temperature
  • 1 tsp vanilla
  • 3/4 tsp baking soda
  • Raspberry preserves (optional)
Frosting
  • 4 1/2 ounces white chocolate, finely chopped
  • 1 3/4 cups confectioners' sugar
  • 1/4 cup milk
  • 1/2 teaspoon vanilla extract
  • 6 tbsp (3/4 stick/3 oz./85g) unsalted butter, softened
  • Pinch of salt
Directions
For cupcakes: Preheat oven to 350F. Melt chocolate with butter and water. Allow to cool slightly.In mixer, combine flour, sugar and salt. Add melted chocolate mixture to flour mixture and mix lightly. Add sour cream, vanilla, baking soda and egg and beat for 2 minutes. Divide batter evenly into cupcake liners and bake for 30 - 35 minutes Place pan on a rack for 10 minutes to cool. Allow cupcakes to cool completely before frosting.


For filling: if choosing to fill these cupcakes, use the "cone method" mentioned above, then fill each cupcake with about a spoonful of the preserves.


For frosting: Melt the white chocolate in a double boiler. Stir until smooth. Cool to room temp. Sift the confectioners' sugar into a medium bowl. Stir in the milk and vanilla. Add the butter and salt and beat until smooth. Stir in the cooled white chocolate. Refrigerate until firm enough to frost the cupcakes, about 30 minutes.
Dark Chocolate Cupcakes with Peanut Butter Filling and Dark Chocolate Frosting
adpated via Ghirardelli 
Serves 12

Ingredients:
Cupcakes
  • 1/4 cup Unsweetened Cocoa
  • 1 1/8 cup all-purpose flour
  • 1 1/4 teaspoon baking soda
  • 1/4 teaspoon salt
  • 1 large egg
  • 1/2 cup firmly packed light brown sugar
  • 1/2 cup granulated white sugar
  • 5/8 cup whole milk
  • 1/3 cup strong brewed coffee or espresso
  • 1/2 cup (or 1 stick) unsalted butter 
Filling
  • 2 ounces cream cheese
  • 1/2 cup creamy peanut butter
  • 2-3 tbsp milk
Frosting
  • 4 1/2 ounces semisweet chocolate, finely chopped
  • 1 3/4 cups confectioners' sugar
  • 1/4 cup milk
  • 1/2 teaspoon vanilla extract
  • 6 tbsp (3/4 stick/3 oz./85g) unsalted butter, softened
  • Pinch of salt
Directions:
For cupcakes: Preheat the oven to 350°F. Line 12 cupcake molds or muffin tins with paper liners or spray with nonstick spray. To make the cupcakes, sift together the flour, cocoa, baking soda and salt. In a medium bowl, whisk together the egg, brown sugar, and white sugar. Whisk in the milk, coffee, and melted butter. Whisk in the dry ingredients. Divide the batter evenly among the cupcake molds, filling them about three-quarters full.

Bake for 15 minutes, or until a tester inserted in the middle of the cupcakes comes out clean. Cool for 10 minutes. Using a small spatula or knife, remove the cupcakes from the pan. Continue to cool on a wire rack to room temperature. 

For filling: combine peanut butter and cream cheese and mix for several minutes - it should look light and fluffy. Add the milk as needed.

For frosting: Melt the chocolate in a double boiler. Stir until smooth. Cool to room temp. Sift the confectioners' sugar into a medium bowl. Stir in the milk and vanilla. Add the butter and salt and beat until smooth. Stir in the cooled white chocolate. Refrigerate until firm enough to frost the cupcakes, about 30 minutes.

Saturday, August 28, 2010

Make Mine Swirled

One can always rely on the fabulous bundt when it comes to last-minute occassions. This particular instance was a friend's birthday and I had a day's notice. As evinced in previous posts, I tend to put a lot of thought and consideration into recipes. Yet when I'm given a matter of hours, I either rely on bundt cakes or cookies. Both require little to no mental preparation, and the ingredients are generally pantry staples. I did have to make a quick run for milk (since I had run out) in the pouring rain, but everything else called for in this recipe I had on hand. I had never made a marble cake before, so I felt this would be the perfect opportunity, and chose to make Dorie Greenspan's Mocha-Walnut Marbled Bundt Cake
The recipe is fairly simple, and stores quite well overnight. This cake is Louis Vuitton of pound cakes: while it still has the basic components of a conventional pound cake, the hint of walnut and the richness of mocha blend to make one classy bundt cake. It has a great texture as well, thanks to density of the batter and the walnuts. 

For the coffee profile, I used my newest love and addiction: a Moka pot. It creates amazing coffee in a short amount of time, thus negating any time benefit instant coffee ever provided. Make sure to set out the eggs and butter before beginning any part of the recipe to ensure they reach room temperature. The coffee's temperature (as indicated below) is irrelevant. 


Mocha-Walnut Marbled Bundt Cake
By Dorie Greenspan via PastryBrush
Serves 10-12
j
Ingredients
  • 2 1/4 cups all-purpose flour
  • 1/2 cup finely ground walnuts
  • 1 tsp baking powder
  • 1 tsp salt
  • 2 sticks plus 2 tbsp (9 oz) unsalted butter, at room temperature
  • 3 oz bittersweet chocolate, coarsely chopped
  • 1/4 cup coffee, hot or cold
  • 1 tsp finely ground instant coffee or instant espresso powder
  • 1 3/4 cups sugar
  • 4 large eggs, preferably at room temperature
  • 2 tsp pure vanilla extract
  • 1 cup whole milk, at room temperature
Directions
Center a rack in the oven and preheat the oven to 350 degrees F.  Butter a 9- to 10-inch (12-cup) Bundt pan, dust the inside with flour and tap out the excess. 

Set a heatproof bowl over a saucepan of gently simmering water.  Put 2 tbsp of the butter, cut into 4 pieces, into the bowl, along with the chocolate, coffee and instant coffee.  Heat the mixture, stirring often, until the butter and chocolate are melted and everything is smooth and creamy – keep the heat low so that the butter and chocolate don’t separate.  Remove the bowl from the heat. *Note: if the mixture gets hot too quickly, it will burn. A solution to this is to shut off the heat and continue stirring. The residual heat from the water will continue to melt the chocolate at a more reasonable temperature.

Working with a stand mixer, preferably with a paddle attachment, or with a hand mixer in a large bowl, beat the remaining 2 sticks of butter and the sugar at medium speed for about 3 minutes (more if using a hand mixer) – you’ll have a thick paste that will not be light and fluffy.  Add the eggs one by one, beating well after each addition.  The mixture should look smooth and satiny.  Beat in the vanilla extract. 

Reduce the mixer speed to low and add the dry ingredients and the milk alternately, adding the dry mixture in 3 portions and the milk in 2, beginning and ending with the dry ingredients.  Scrape a little less than half of the batter into the bowl with the melted chocolate and, using a rubber spatula, stir to blend thoroughly.

To achieve a marbled look, alternate spoonfuls of light and dark batter in the pan.  When all the batter is in the pan, swirl a table knife sparingly through the batters to marble them. Bake for 65 to 70 minutes, or until a wooden skewer/toothpick inserted deep into the center of the cake comes out clean.  Transfer the Bundt pan to a rack and let cool for 10 minutes before unmolding, then cool the cake completely on the rack. If storing overnight, wrap in plastic wrap and place in fridge. 


*I made a quick glaze by microwaving approximately 1 cup of semisweet chocolate chips and a splash of heavy cream at 10 second intervals, stirring in between.
Check out those swirls! 

Thursday, August 19, 2010

Now You See It, Now You Don't

You know you've got a winning cake when all that's left at the end of the evening is an empty caddy. I admit - this particular recipe was purely intended to fuel my vanity. In other words, I knew this was going to be a cake that no one could resist. I invested a great amount of time and energy into the groundwork behind this recipe, and was debating between several finds. One particular gem was a recipe for Guiness Chocolate Cupcakes with Bailey's Cream Cheese Frosting. Were decadence to be given a name, this would be it. Unfortunately, I didn't have the patience for cupcakes and while this recipe would have created a beautiful layer cake, the concept of "car bomb cupcakes" is just too good to be true (spolier alert!). 
Yet I wasn't about to walk away from the opportunity to use Bailey's, so I had to find a recipe that could live up to the original. I visited my "Desserts to Try" folder and found the perfect match: chocolate sour cream cake. The original recipe calls for a peanut butter frosting that is then coated in a glossy chocolate ganache, but Bailey's cream cheese frosting made for a beautiful pairing. At some point I will need to revisit the two recipes in their original form, but the disappearance of my hybrid recipe leads me to believe that my decision was well-received.


So this cake - what makes it special? Adding sour cream to cake batter will guarantee a dense, moist texture. The additional fat from the sour cream also helps maintain said moisture longer than your conventional butter and eggs cake. Word of caution: upon adding the distilled white vinegar, the batter will began to bubble - this is NOT a bad sign. It is merely the acidity of the vinegar interacting with the sour cream. 

Now how about that frosting - any cake would have sufficed, because this frosting stole the show. I doubled the original recipe to accommodate the 3 layers of cake. I acknowledge that 2 nips of Bailey's (each 1/4 cup)  is a substantial amount, but here is a flavor that no baker can truly replicate. Feel free to use only 1 nip if preferred, because unlike the Chocolate Stout Cake or Bourbon Pumpkin Pie of older posts, the alcohol does not have the opportunity to "bake out" of this recipe. 


Sour Cream Chocolate Cake with Bailey's Irish Cream Frosting
Adapted from Nook & Pantry and Smitten Kitchen
Serves 16


Ingredients:
Cake
  • 2 cups all-purpose flour
  • 2 1/2 cups sugar
  • 3/4 cup unsweetened cocoa powder, preferably Dutch process (I just used regular)
  • 2 teaspoons baking soda
  • 1 teaspoon salt
  • 1 cup neutral vegetable oil, such as canola or soybean (Canola is a safe bet)
  • 1 cup sour cream (NOT low-fat)
  • 1 1/2 cups water
  • 2 tbsp distilled white vinegar
  • 1 teaspoon vanilla extract
  • 2 eggs
Frosting
  • 2 (8-oz) packages of cream cheese, softened
  • 1 1/2 sticks of unsalted butter, softened
  • 4 cups confectioner’s sugar (more if needed)
  • 2 nips (1/2 cup) of Bailey’s Irish Cream (trust me!)
Directions

For Cake: Preheat the oven to 350 degrees F. Butter the bottoms and sides of three 8-inch round cakepans. Line the bottom of each pan with a round of parchment or waxed paper and butter the paper.
Sift the flour, sugar, cocoa powder, baking soda, and salt into a large bowl. Whisk to combine them well. Add the oil and sour cream and whisk to blend. Gradually beat in the water. Blend in the vinegar and vanilla. Whisk in the eggs and beat until well blended. Scrape down the sides of the bowl and be sure the batter is well mixed. Divide among the 3 prepared cake pans.

Bake for 30 to 35 minutes, or until a cake tester or wooden toothpick inserted in the center comes out almost clean. Let cool in the pans for about 20 minutes. Invert onto wire racks, carefully peel off the paper liners, and let cool completely. 

For Frosting: In the bowl of a stand mixer with a paddle attachment or with a hand mixer, add the cream cheese, butter, and confectioner’s sugar and beat until light and fluffy. Slowly drizzle in the Bailey’s, more or less depending on how boozey you want the frosting, and beat until completely incorporated into the frosting.


For Assembly: Place one cake layer, flat side up, onto large place/cake caddy. Spread 1/3 cup of Bailey's Cream Cheese Frosting evenly across surface, then top and repeate with a second layer of cake. The cake's texture will create a lot of crumbs, so create a crumb coating accordingly: frost the cake with just under half of the frosting, then refrigerate it for 15 – 20 minutes (to allow the frosting to set). Remove from the fridge and spread the remaining frosting over and on the sides of the cake. Chill until serving, to allow the frosting more time to set. 


Wednesday, August 11, 2010

These Are a Few of My Favorite Things...

As I've mentioned before on this blog, I'm not the biggest fan of sweets, but this cake possesses a few irresistible favorites of mine for when I do choose to indulge. I went to Cheesecake Factory a few weeks ago to see firsthand a cheesecake I had been told about by friends as well as read about online: Stefanie's Ultimate Red Velvet Cheesecake. When the waiter returned with the behemoth slice of cake, I asked if there was anyone on site I could possibly speak with to discuss the process behind making such a cake. I almost fell out my chair when he told me they were shipped, frozen, from California! Now folks: this is no joke to a baker, and I knew at that very moment that I had to somehow reproduce this cake.

Having made it, I now understand why these cheesecakes are shipped frozen. This is an extremely difficult cake to assemble, and would be far too time-consuming for a chain restaurant like Cheesecake Factory to consistently produce. Mind you, the cake was still very good at the restaurant, I just have to have my own standards. Nonetheless, I highly respect the concept behind the cake: for every slice purchased, 25 cents is donated towards Feeding America, a foundation that provides food for over 37 million Americans per year.
Anyways, about my own attempt at this beautiful cake. I baked this cake for a farewell party being held for a friend of ours moving to Canada. I knew there would be a decent amount of people, so I chose this cake as it is not meant for small functions. This cake was still smaller than the one available at Cheesecake Factory, but considering it took 3 of us to tackle one slice, I preferred making a cake that wouldn't be quite as daunting.

Layer 1 - the Cheesecake

Layer 2 - the Red Velvet Cake

Basically its a great cake: the textures and flavors of the two cakes marry beautifully. But be warned, this is not an easy recipe. Cheesecake alone is difficult to master, from achieving the right texture to preventing unsightly cracks from forming once the baking is done. Slicing a cheesecake can become messy...slicing one in half is nearly impossible. I recommend having a tall glass of water nearby - a wet knife slices much cleaner. Granted, another option is to simply double this recipe and skip the slicing altogether (but that would make a MUCH bigger cake; save this concept for large parties/gatherings). I found this recipe, after having conducted a thorough online search, at a blog called The Changeable Table.


Red Velvet Cheesecake with Cream Cheese Frosting
adapted from The Changeable Table
Serves 10 - 12

Ingredients:
Cheesecake:
  • 3 8-oz pkgs cream cheese - room temperature
  • 1-1/3 cups sugar
  • 3 Tbsp cornstarch
  • 1 Tbs vanilla
  • 3 eggs
  • 2/3 cup heavy cream
Red Velvet Cake
  • 2 Tbsp butter - softened
  • 2 Tbsp shortening
  • 3/4 cup sugar
  • 1 egg
  • 1 Tbsp unsweetened cocoa powder
  • 1 oz red food coloring (one small bottle; use more if wanting deeper red)
  • 1 cup + 2 Tbs flour
  • 1/2 tsp salt
  • 1/2 cup buttermilk (or 1/2 cup milk + 1/2 Tbsp vinegar; let sit for 5 minutes)
  • 1/2 tsp baking soda
  • 1-1/2 tsp white vinegar
  • 1/2 tsp vanilla
Cream Cheese Icing
  • 8 oz pkg cream cheese - softened
  • 3-1/2 to 4 cups powdered sugar
  • 1/2 cup butter, softened
  • 1/4 cup heavy cream
  • 1 tsp vanilla
  • 1/4 tsp salt
Directions:

Spray two 9” round cake pans generously with PAM, or grease with shortening. Trace bottoms of pans onto parchment paper, cut out, and place in bottom of pans. Set aside.

For the cheesecake: Cream together cream cheese, sugar, and cornstarch with mixer. Add eggs, one a time, then the vanilla - beating until smooth. Add cream and beat in just until combined - don’t overmix. Pour into one of prepared pans. Bake at 350 degrees for about 1 hour and 15 minutes - watching closely near end of baking time. One done, turn off the oven and let the cake sit in the cool oven for an hour, then place in refrigerator for about 2 hours. Run knife around outer edge, tapping pan to remove cheesecake onto the palm of your hand. Set in refrigerator until cold

For the cake: Cream butter, shortening, and sugar. Add egg and cocoa, making sure to scrape the bowl with a spatula. Combine the flour and salt in a separate bowl, and buttermilk and food coloring in another bowl. Alternate between the flour and buttermilk mxtures - beating well. Sprinkle baking soda over batter, then pour vinegar and vanilla over the top. You’ll see it foam slightly. Fold into batter until well mixed. Pour batter into the other prepared pan. Bake at 350 degrees for about 25-30 minutes, or until it tests done. Cool, then remove cake from pan. Using large serrated knife, cut this layer in half when cooled.

For the frosting: Beat cream cheese and butter together until fluffy. Add sugar and salt, then cream & vanilla. Continue to beat until smooth and it forms peaks. Set aside.

For assembly: Place first half of cake layer onto serving plate (after having removed the parchment paper). Spread generously with a layer of frosting. Carefully slice cheesecake in half in the same way as the red velvet layer (remembering to wet the knife after each slice), placing one half on top of red velvet cake & frosting. Add another layer of frosting. Repeat layers. Carefully spread frosting around outer edge of cake to prevent crumbs. Now frost top of cake. Using remaining frosting, place in pastry bag with decorative tip. Pipe edge on top and bottom.

*Note: This frosting contains butter, and will melt quite easily in a warm workspace. Work quickly, then place the finished cake into the refrigerator until serving.
Confession: I was not fully satisfied with this cake. Everyone who had the opportunity to try it loved it, even claimed it was the best cake I've ever made. Yet I had been pretty sick that week, so I felt my own personal standards weren't met (patience and food poisoning are a rough match). As such, there will probably be another (more beautiful) installment of this cake eventually. Now I just need to find the right event for it...

Sunday, August 8, 2010

An Effervescent Fix to Blandness


I must admit that I have been quite remiss in my blogging duties as of late, but I can attribute this to having had an extremely fun 2 weeks filled with camping, bowling, and more with a visiting friend. Even so, I still had the time (and the energy) to bake several creations. One of these was for a friend's birthday which, given the events of the week, I almost forgot entirely (oops!) As a result, I needed a recipe that was both fast and had relatively few ingredients. But I wasn't about to go buy a Betty Crocker mix and call it day, so this recipe also needed to live up to my own standards in taste and texture. Solution? A simple pound cake would have done the trick, but I wanted something with a wow factor to it. It was then I remembered a recipe I had always wanted to try due to use of an unconventional ingredient: a 7-Up Cake.
I imagine you are now having the same reaction as I upon first hearing about this cake. 7-Up in a cake? As silly as it sounds, this cake is one hell of a cake (pardon the French) when one's in a hurry. Who would have thought that the incorporation of carbonated soda into a traditional pound cake batter would create such an amazing texture!? For a recipe with six ingredients, this cake's simplicity is hardly that in taste.
I made a few changes cake based on my own preferences. The original recipe calls for 1 1/2 cups of butter (I imagine your cholesterol was not happy with that last sentence). In my experience, this much butter yields very dense cake. While some do enjoy this texture, it was not quite what I had in mind. As such, I used 1/2 cup shortening + 1 cup butter to achieve a lighter texture but still allow the butter's flavor to be prominent. The second change was to use 2 tablespoons of fresh lemon juice in lieu of the lemon extract (which I don't own, nor plan to). The addition of more liquid was a safe decision thanks to my substitution of shortening for butter. This is because butter is approximately 20% water, 80% fat, while shortening is 100% fat, providing room for additional liquid if need be. I also made a simple glaze for the cake for presentation purposes.

7-Up Cake with Simple Glaze
Adapted from AllRecipes.com
Serves 12

Ingredients
  • 1 cup butter, softened
  • 1/2 cup shortening
  • 3 cups white sugar
  • 5 large eggs
  • 3 cups all-purpose flour
  • 2 tbsp lemon juice
  • 1 teaspoon vanilla extract
  • 3/4 cup lemon-lime flavored carbonated beverages
  • 1 1/2 cups powdered sugar
  • 4-5 tbsp lemon-lime flavored carbonated beverages
Directions

For cake: Cream together the butter, shortening, and sugar until creamy. Add eggs, one at a time, then the lemon juice and vanilla extract. Gradually add the flour, then fold in the 7-Up beverage.

Pour into a well-greased 12 cup Bundt pan. Bake at 325 degrees F (165 degrees C) for 60 to 75 minutes, checking at 55 minutes to ensure even baking. Cool for at least 30 minutes before removing the cake from the pan.

For glaze: Whisk together the powdered sugar with the 7-Up beverage, adding more or less to reach desired consistency. Pour over cake and allow to set before serving.